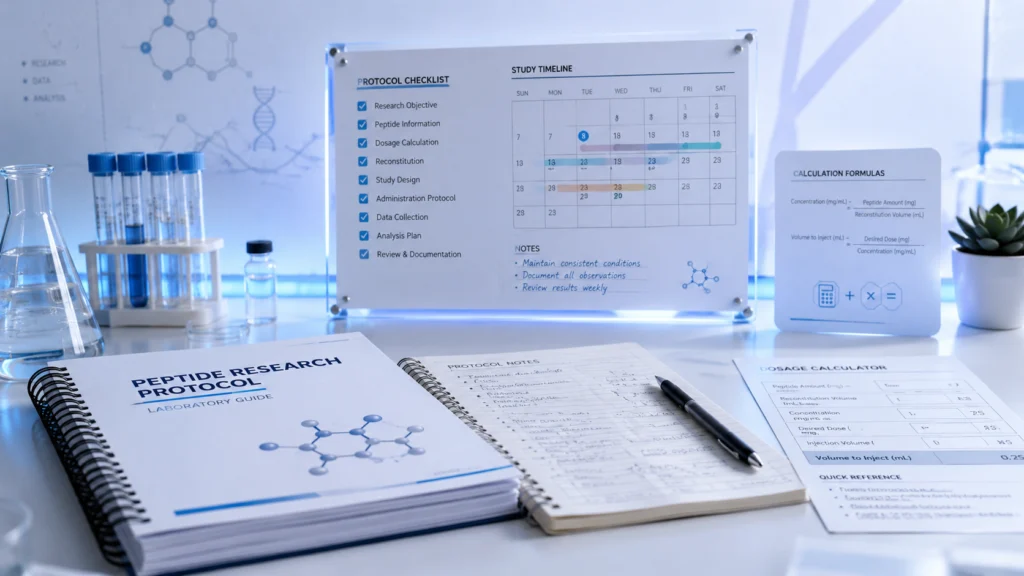
This guide explains how to build a peptide research protocol step by step. It is for educational and research-planning purposes only, not for personal medical use.
Why a Peptide Research Protocol Matters
A research protocol is basically a plan for consistency.
Without one, the results may look useful at first. However, they can become hard to explain later. For example, if the dose changed, the storage method changed, and the timing also changed, you cannot know which factor caused the result.
A strong protocol helps you control the most important variables before the study starts. It also supports better documentation, which matters in serious research environments.
For broader research quality, the NIH guidance on rigor and reproducibility is a useful reference. Also, animal research reporting standards such as the ARRIVE guidelines show why transparent methods and clear reporting matter.
Step 1: Define the Research Question
Start with one simple question.
What are you actually trying to study?
This step sounds basic, but it controls every other decision in your protocol. If your question is about a dose-response relationship, you may need different research groups at different dose levels. If your question is about timing, you need controlled timing windows. Meanwhile, if your question is about comparing compounds, the design needs to account for fair comparison methods.
Write the research question in one sentence.
For example:
“What effect does changing the timing window have on the measured outcome in this research model?”
If you cannot write the question clearly, the protocol is not ready yet. In that case, the design stage helps you refine the idea before you waste time or materials.
Step 2: Choose the Compound and Dose Range
Choose the compound based on the research question, not popularity.
Next, review existing literature to understand what dose ranges have already been studied. Published research can give a starting point for planning. However, the exact protocol still depends on the model, study goal, compound properties, and endpoints.
A peptide protocol builder can help organize this information before you begin. You can map the compound, planned concentration, research group, dosing frequency, and observation timeline in one place.
Also, calculate dosing in both mass terms and molar terms where relevant. This helps make the protocol easier to compare with published work and future studies.
For nonclinical research standards, the official 21 CFR Part 58 Good Laboratory Practice rules are a useful authority link to include on this page.
Step 3: Plan Timing, Cycle Length, and Frequency
Cycle length depends on the research question and the compound’s behavior.
Some compounds require short observation windows. Others need longer timelines before meaningful patterns appear. Therefore, the protocol should not use random timing. It should match the expected time course of the outcome you want to measure.
For example, if the endpoint is a biomarker, you need to decide when that marker should be checked. If you measure too early, you may miss the effect. If you measure too late, the signal may become less clear.
A good protocol includes:
- Start date
- End date
- Dose timing
- Observation windows
- Endpoint measurement dates
- Notes for missed or adjusted timepoints
This makes the study easier to follow and much easier to review later.
Step 4: Calculate Total Compound Required
Once the dose, frequency, and cycle length are clear, calculate the total compound required.
This is where many research plans fail. The protocol may look good, but the quantity ordered may not match the full study design. As a result, the study can run short before completion.
Add a reasonable buffer for expected handling loss, repeat measurements, and reconstitution waste. A peptide cycle cost estimator can help estimate the required quantity and total projected cost before ordering.
This step also connects well with your internal tools. Link naturally to your:
- Peptide cost calculator
- Peptide dosage calculator
- Peptide cycle cost estimator
- Reconstitution calculator
Step 5: Plan Reconstitution and Storage
Reconstitution should be planned before the study starts.
The concentration you choose affects volume accuracy, ease of handling, and waste. A higher concentration may reduce volume per dose, but it may require more precise measurement. A lower concentration may be easier to draw, but it creates more total solution volume.
For research peptides, storage conditions should be documented carefully. Light, temperature, moisture, and repeated handling can all affect peptide stability. The NIBSC peptide handling and storage guidance gives a useful overview of storage considerations. A research paper on peptide storage conditions also discusses how temperature and storage solution can affect peptide degradation.
Document these details in the protocol:
- Reconstitution date
- Solvent used
- Final concentration
- Storage temperature
- Vial label
- Batch number
- CoA purity
- Planned use-by window
This simple documentation can prevent major confusion later.
Step 6: Establish Control Conditions
A peptide research protocol needs a control condition.
Without a control, the results are difficult to interpret. You may observe a change, but you cannot confidently say what caused it.
Depending on the study design, control conditions may include:
- Vehicle-treated control
- Dose-zero group
- Baseline-only group
- Comparative compound group
- Untreated control group
The right control depends on the question. However, the goal is always the same: give your observations a clear comparison point.
Step 7: Document Every Key Detail
Good documentation is the backbone of reproducible research.
Record every important detail before, during, and after the protocol. This includes batch numbers, reconstitution dates, storage notes, timestamps, dose logs, observation notes, and measurement results.
Do not rely on memory. Even small missing details can make results harder to understand later.
A simple log should include:
- Compound name
- Batch number
- Purity or CoA reference
- Reconstitution date
- Research group
- Dose schedule
- Administration timestamp
- Observation notes
- Measurement timepoint
- Any protocol deviations
This also makes troubleshooting easier. If results look unusual, the log helps you check what changed.
Use a Peptide Protocol Builder Before You Start
A peptide protocol builder makes the planning process easier because it keeps the full research plan in one place. Instead of guessing each step separately, you can organize the question, compound, dose range, timing, cycle length, reconstitution plan, controls, and documentation.
This does not replace scientific judgment. However, it helps reduce messy planning mistakes.
Before starting any structured research work, use the free peptide protocol builder to create a clear dosing schedule. Then, check the full cost with the cycle cost estimator.
Build Your Protocol
Put this guide into practice with the free peptide protocol builder. Create a structured research schedule, review your compound requirements, and estimate affordability before ordering.